![]()
2022 Realistic Lead1Pass MO-101 Dumps PDF - 100% Passing Guarantee
Free Microsoft MO-101 Exam Questions and Answer
NEW QUESTION 12
Mark an index entry for the "ABOUT US' heading immediately after the text.
Answer:
Explanation:
See the steps below.
Explanation:
These steps show you how to mark words or phrases for your index, but you can also Mark index entries for text that spans a range of pages.
Select the text you'd like to use as an index entry, or just click where you want to insert the entry.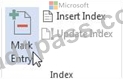
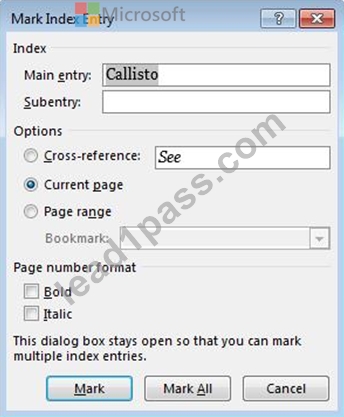
You can add a second-level in the Subentry box. If you need a third level, follow the subentry text with a colon.
To create a cross-reference to another entry, click Cross-reference under Options, and then type the text for the other entry in the box.
To format the page numbers that will appear in the index, select the Bold check box or Italic check box below Page number format.
Click Mark to mark the index entry. To mark this text everywhere it shows up in the document, click Mark All.
To mark additional index entries, select the text, click in the Mark Index Entry dialog box, and then repeat steps 3 and 4.
NEW QUESTION 13
In the 'Our Team" section, select the first instance of 'Team Builder and record a macro named ''Role'' that applies bold and italic formatting of the selected text. Then stop recording. Store the macro in the current document.
Answer:
Explanation:
See the steps below.
Explanation:
Select the View tab, then click Macros > Record Macro.
Macro names must begin with a letter and use either letters or numerals. You cannot use spaces, non-alphanumeric characters, or periods.
Macro names can be 80 characters maximum
Macro names cannot conflict with the program's reserved commands or keywords such as Print, Save, Copy, Paste.
Descriptions are just notes that summarize the macro's function.
NEW QUESTION 14
Create a mail merge recipient list that contains one entry with the first name "Paula" and the last name "Bento". Save the list in the default folder as "Snowboarders*. Leave the field structure of the recipient list intact.
Answer:
Explanation:
See the steps below.
Explanation:
Click the Mailings tab.
Click the Start Mail Merge button.
Select Step-by-Step Mail Merge Wizard.
The Mail Merge pane appears on the right, ready to walk you through the mail merge.
Select a type of document to create.
Click Next: Starting document.
NEW QUESTION 15
This project has only one task.
Select the "Bellows College' and 'Department of Chemistry" paragraphs. Save the selected text as a Quick Part named Chemistry header. Save the Quick Part in the Bellows template, in a custom category named 'Departments''.
Answer:
Explanation:
See the steps below.
Explanation:
Select the phrase, sentence, or other portion of your document that you want to save to the gallery.
On the Insert tab, in the Text group, click Quick Parts, and then click Save Selection to Quick Part Gallery, change the name and add a description if you like, and click OK.
Note: To save a selection as AutoText, on the Insert tab, in the Text group, click Quick Parts > AutoText > Save Selection to AutoText Gallery.
Topic 4, Donation Response
Exhibit.
NEW QUESTION 16
Configure formatting restrictions to allow users to apply only the Heading 1, Heading 2, Normal (Web), and Normal Indent styles. When prompted, answer No to retain all Styles currently in the document.
Do not start enforcing protection, if you do, it will affect your ability to complete other tasks in this project.
Answer:
Explanation:
See the steps below.
Explanation:
Select the File tab in the ribbon.
Select the Info tab in the Backstage view.
Select the Protect Document button.
Select Restrict Editing in the drop-down menu.
Check Limit formatting to a selection of styles in the Restrict Editing task pane.
Select the Settings link.
Check Limit formatting to a selection of styles in the Formatting Restrictions dialog box Check or uncheck the individual styles you want to allow from the Formatting Restrictions dialog box. Or, select one of the preset option buttons:
Select the OK button
Topic 6, Lab Safety
Exhibit.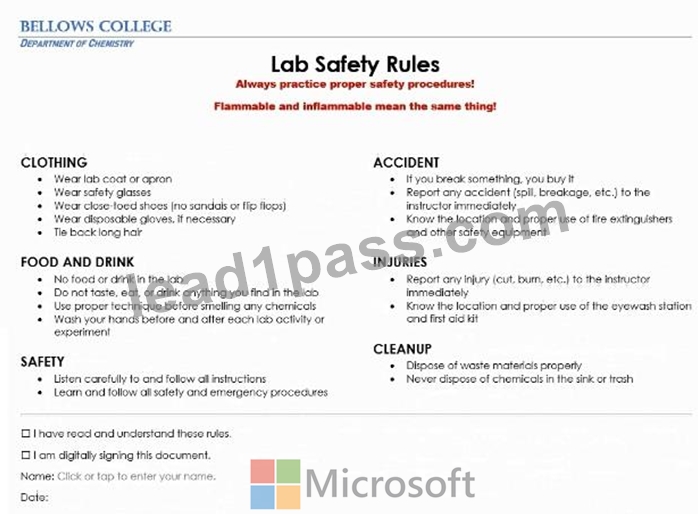
NEW QUESTION 17
Configure the Hyphenation settings to hyphenate the document automatically. Configure line numbering to lestait at the top of each page.
Answer:
Explanation:
See the steps below
Explanation:
On the Tools menu, click Hyphenation.
Select the Automatically hyphenate document check box.
In the Hyphenation zone box, enter the amount of space to leave between the end of the last word in a line and the right margin.
NEW QUESTION 18
To the right of "Figure 1'. select the paragraph that begins 'Bellows College students'. Configure the pagination options so that all lines of the paragraph will always stay together on the same page.
Answer:
Explanation:
See the steps below.
Explanation:
You can keep all lines of a paragraph together on a page or in a column so that the paragraph is not split between two pages.
Select the lines that you want to keep together.
On the Format menu, click Paragraph, and then click the Line and Page Breaks tab.
Select the Keep lines together check box.
Topic 1, Fabrikam Wells
Exhibit.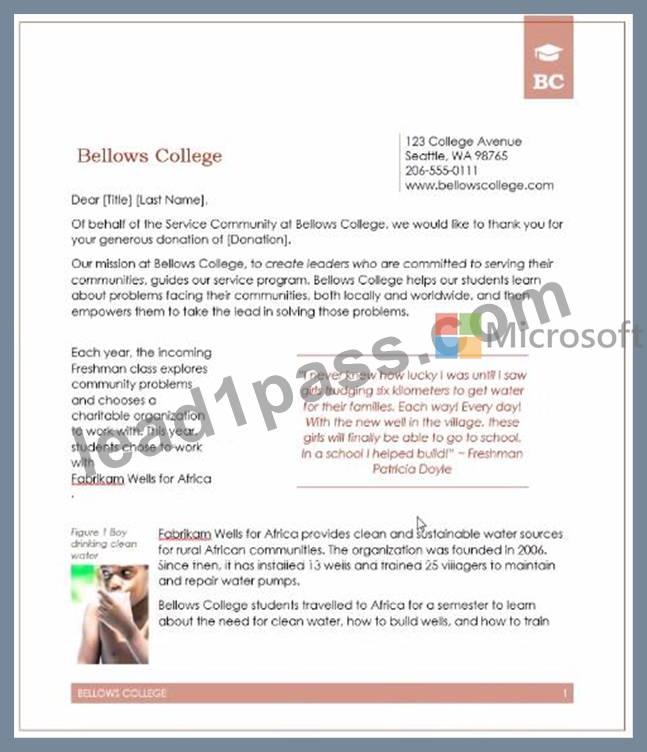
NEW QUESTION 19
Display the caption 'Figure 2 Patricia Doyle and friend'' below the second photo in the document. Note: Word automatically adds the text Figure 2.
Answer:
Explanation:
See the steps below.
Explanation:
Select the object (table, equation, figure, or another object) that you want to add a caption to.
On the References tab, in the Captions group, click Insert Caption.
In the Label list, select the label that best describes the object, such as a figure or equation.
NEW QUESTION 20
You are creating a newsletter tor Adventure Works Cycles to promote an outdoor adventure club. Change the style of all content that is formatted with the Emphasis style to the Intense Emphasis style.
Answer:
Explanation:
Seethestepsbelow
Explanation:
From the Design tab, click the More drop-down arrow in the Document Formatting group.
Choose the desired style set from the drop-down menu.
The selected style set will be applied to your entire document.
NEW QUESTION 21
At the bottom of the page, insert a Date Picker control to the right of the text 'Date''.
Answer:
Explanation:
Seethestepsbelow
Explanation:
In the Word Options dialog box, please (1) click Customize Ribbon in the left bar, (2) check Developer in the right box, and (3) click the OK button. ...
Click Developer > Date Picker Content Control . ...
Then the Date Picker is inserted into the document.
NEW QUESTION 22
......
Verified MO-101 dumps Q&As Latest MO-101 Download: https://www.lead1pass.com/Microsoft/MO-101-practice-exam-dumps.html